- 项目实战
- 创建新应用
- 使用 antd
- 新建路由
- 编写 UI Component
- 定义 dva Model
- connect 起来
- 构建应用
- 下一步
项目实战
在真实项目开发中,你可能会需要 Redux 或者 MobX 这样的数据流方案,Ant Design React 作为一个 UI 库,可以和任何 React 生态圈内的数据流方案以及应用框架搭配使用。我们基于 Redux 推出了自己的最佳实践 dva,以及可插拔的企业级应用框架 umi,推荐你在项目中使用。
dva 是一个基于 Redux 的 轻量级数据流方案,概念来自 elm,支持 side effects、热替换、动态加载、react-native、SSR 等,已在生产环境广泛应用。
umi 则是一个可插拔的企业级 react 应用框架。umi 以路由为基础的,支持类 next.js 的约定式路由,以及各种进阶的路由功能,并以此进行功能扩展,比如支持路由级的按需加载。然后配以完善的插件体系,覆盖从源码到构建产物的每个生命周期,支持各种功能扩展和业务需求。
你可能也会对 Ant Design Pro 感兴趣,这是一个基于 umi、dva 和 ant design 的开箱即用的中台前端/设计解决方案。
本文会引导你使用 umi、dva 和 antd 从 0 开始创建一个简单应用。
创建新应用
先创建一个空目录,
$ mkdir myapp$ cd myapp
推荐使用 yarn 创建应用,执行以下命令,
如果你坚持用 npm,可执行
npm install -g create-umi && create-umi,效果一致。
$ yarn create umiyarn create v1.12.0[1/4] ? Resolving packages...[2/4] ? Fetching packages...[3/4] ? Linking dependencies...[4/4] ? Building fresh packages...success Installed "create-umi@0.9.5" with binaries:- create-umi
yarn 会先安装最新版的 create-umi,然后提供交互式的提示来创建应用。
选择 app, 然后回车确认。
? Select the boilerplate typeant-design-pro - Create project with an layout-only ant-design-pro boilerplate, use together with umi block.❯ app - Create project with a simple boilerplate, support typescript.block - Create a umi block.library - Create a library with umi.plugin - Create a umi plugin.
选上 antd 和 dva,然后回车确认。
create package.jsoncreate mock/.gitkeepcreate src/assets/yay.jpgcreate src/layouts/index.csscreate src/layouts/index.jscreate src/pages/index.csscreate src/pages/index.jscreate src/global.csscreate .gitignorecreate .editorconfigcreate .envcreate .umirc.jscreate .eslintrccreate .prettierrccreate .prettierignorecreate src/models/.gitkeepcreate src/dva.js✨ File Generate Done✨ Done in 966.73s.
然后安装依赖,
$ yarn
然后启动应用,
$ yarn start
几秒钟后,你会看到以下输出,
DONE Compiled successfully in 212msApp running at:- Local: http://localhost:8000/- Network: http://{{ YourIP }}:8000/
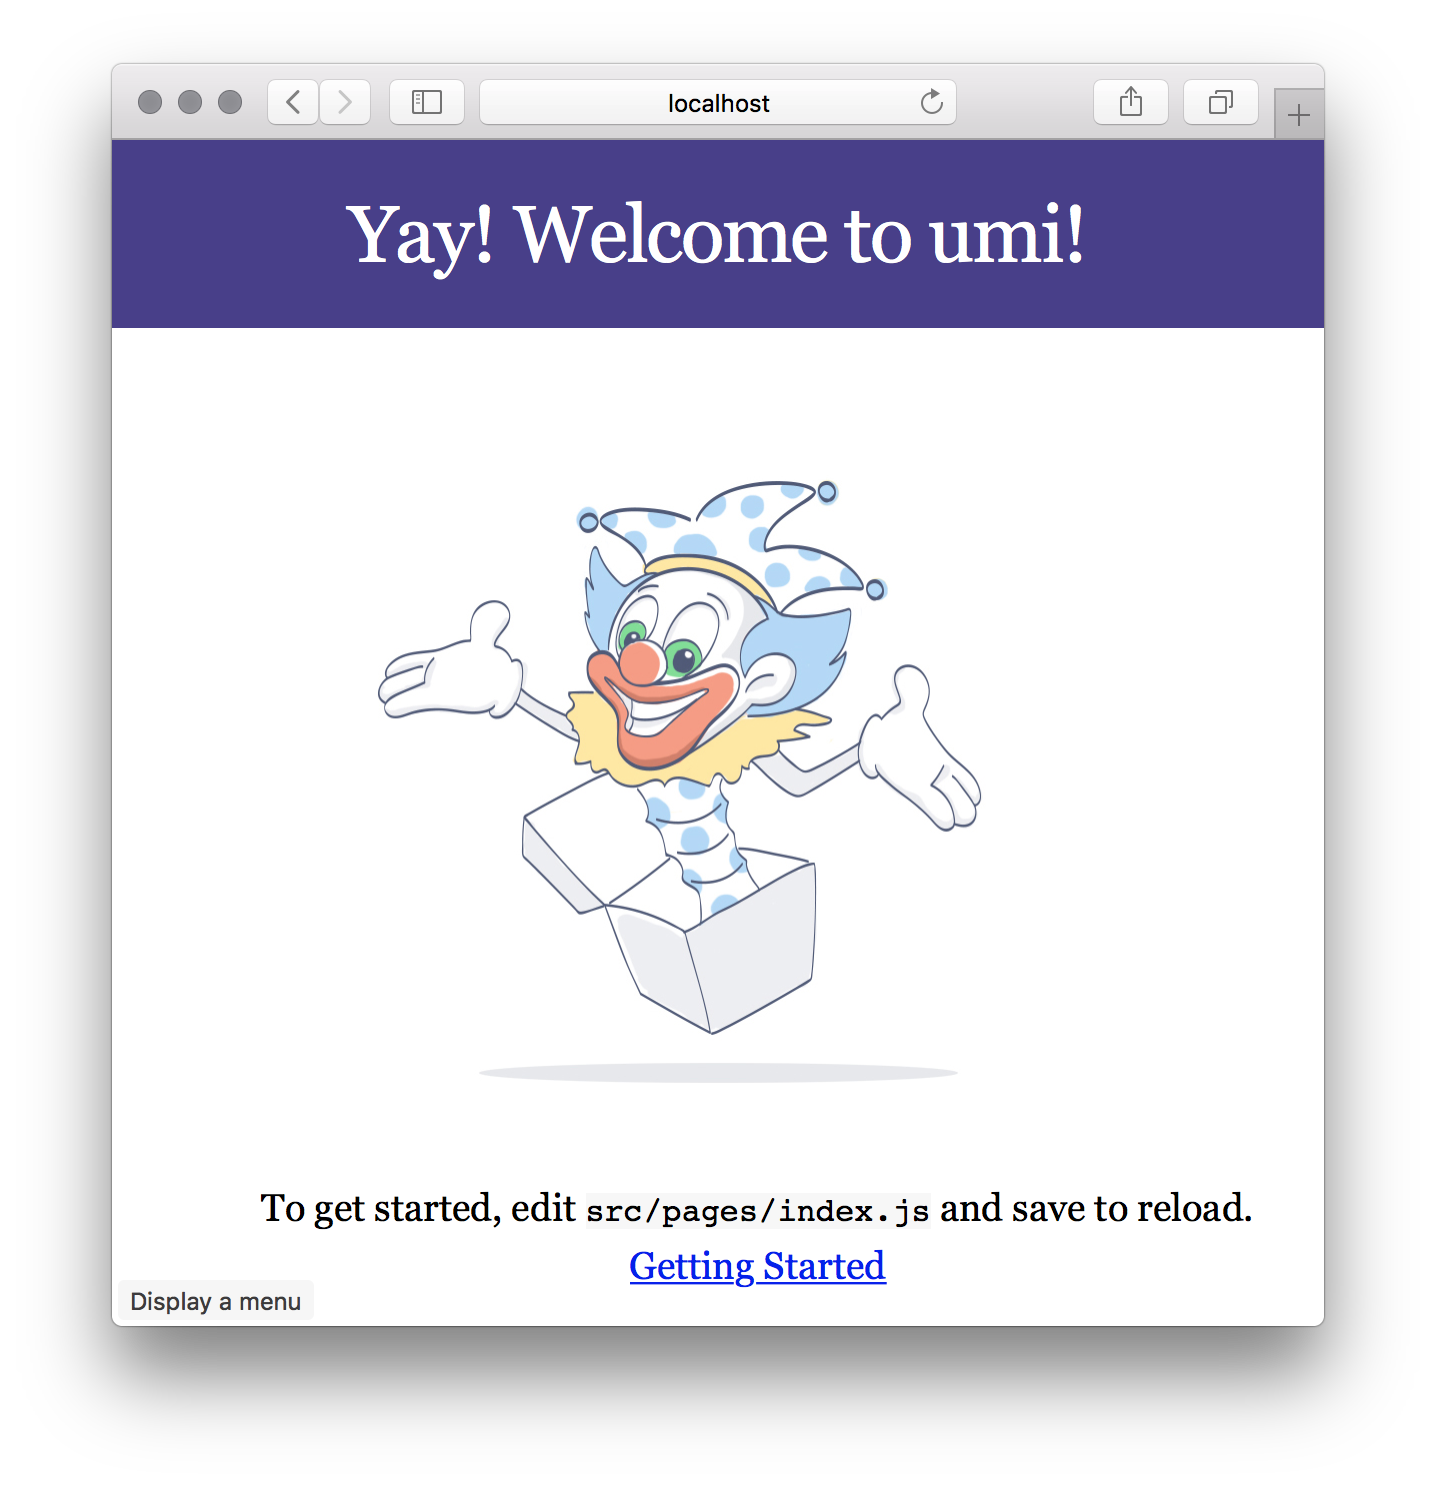
在浏览器里打开 http://localhost:8000,你会看到 umi 的欢迎界面。
使用 antd
前面选择 antd 之后,会自动处理 antd 的依赖以及按需加载。你可以检查 .umirc.js 里的配置,确保 antd 已开启。
// ref: https://umijs.org/config/export default {plugins: [// ref: https://umijs.org/plugin/umi-plugin-react.html['umi-plugin-react',{antd: true,dva: true,},],],};
而如果要使用固定版本的 antd,你可以在项目里安装额外的 antd 依赖,package.json 里声明的 antd 依赖会被优先使用。
新建路由
我们要写个应用来先显示产品列表。首先第一步是创建路由,路由可以想象成是组成应用的不同页面。
如果你没有 npx,需要先安装他,用于执行 node_modules 下的命令,
$ yarn global add npx
然后通过命令创建 /products 路由,
$ npx umi g page productscreate src/pages/products.jscreate src/pages/products.css✔ success
然后在浏览器里打开 http://localhost:8000/products,你应该能看到对应的页面。
编写 UI Component
随着应用的发展,你会需要在多个页面分享 UI 元素 (或在一个页面使用多次),在 umi 里你可以把这部分抽成 component 。
我们来编写一个 ProductList component,这样就能在不同的地方显示产品列表了。
新建 src/components/ProductList.js 文件:
import { Table, Popconfirm, Button } from 'antd';const ProductList = ({ onDelete, products }) => {const columns = [{title: 'Name',dataIndex: 'name',},{title: 'Actions',render: (text, record) => {return (<Popconfirm title="Delete?" onConfirm={() => onDelete(record.id)}><Button>Delete</Button></Popconfirm>);},},];return <Table dataSource={products} columns={columns} />;};export default ProductList;
定义 dva Model
完成 UI 后,现在开始处理数据和逻辑。
dva 通过 model 的概念把一个领域的模型管理起来,包含同步更新 state 的 reducers,处理异步逻辑的 effects,订阅数据源的 subscriptions 。
新建 model src/models/products.js,
export default {namespace: 'products',state: [],reducers: {delete(state, { payload: id }) {return state.filter(item => item.id !== id);},},};
这个 model 里:
namespace表示在全局 state 上的 keystate是初始值,在这里是空数组reducers等同于 redux 里的 reducer,接收 action,同步更新 state
umi 里约定 src/models 下的 model 会被自动注入,你无需手动注入。
connect 起来
到这里,我们已经单独完成了 model 和 component,那么他们如何串联起来呢?
dva 提供了 connect 方法。如果你熟悉 redux,这个 connect 来自 react-redux。
编辑 src/pages/products.js,替换为以下内容:
import { connect } from 'dva';import ProductList from '../components/ProductList';const Products = ({ dispatch, products }) => {function handleDelete(id) {dispatch({type: 'products/delete',payload: id,});}return (<div><h2>List of Products</h2><ProductList onDelete={handleDelete} products={products} /></div>);};export default connect(({ products }) => ({products,}))(Products);
最后,我们还需要一些初始数据让这个应用 run 起来。编辑 src/app.js:
export const dva = {config: {onError(err) {err.preventDefault();console.error(err.message);},initialState: {products: [{ name: 'dva', id: 1 }, { name: 'antd', id: 2 }],},},};
刷新浏览器,应该能看到以下效果:
构建应用
完成开发并且在开发环境验证之后,就需要部署给我们的用户了。先执行下面的命令,
$ npm run build
几秒后,输出应该如下:
> @ build /private/tmp/sorrycc-V0lLrF> umi build[5:01:58 PM] webpack compiled in 11s 615msDONE Compiled successfully in 11622ms 5:01:58 PMFile sizes after gzip:340.44 KB dist/umi.js17.82 KB dist/umi.css
build 命令会打包所有的资源,包含 JavaScript, CSS, web fonts, images, html 等。你可以在 dist/ 目录下找到这些文件。
下一步
我们已经完成了一个简单应用,你可能还有很多疑问,比如:
如何统一处理出错?
如何处理更多路由,比如动态路由,嵌套路由,权限路由等?
如何 mock 数据?
如何部署?
等等
你可以:
访问 umi 官网和 dva 官网
理解 umi 的路由
理解 如何部署 umi 应用
查看 dva 知识地图,包含 ES6, React, dva 等所有基础知识
理解 dva 的 8 个概念,以及他们是如何串起来的
