- 不同页面间的参数的传递
- 1. 回顾:现有的接口
- 2. 显示博客详情页
- 3. 新增路由
- 4. 修改博客列表页—跳转方式1: 使用事件
- 演示
- 不经过HTML转义,直接打印结果.
- 修改博客列表页—跳转方式2: 使用v-link
不同页面间的参数的传递
在普通的web开发中,参数传递有以下几种形式:
- url:
/another_page?id=3 - 表单:
<form>...</form>
而在Vuejs中,不会产生表单的提交(这会引起页面的整体刷新). 所以有两种:
- url . 同传统语言. 参数体现在url中。
- vuejs 内部的机制.(无法在url 中体现,可以认为是由js代码隐式实现的)
我们用一个实际的例子说明.
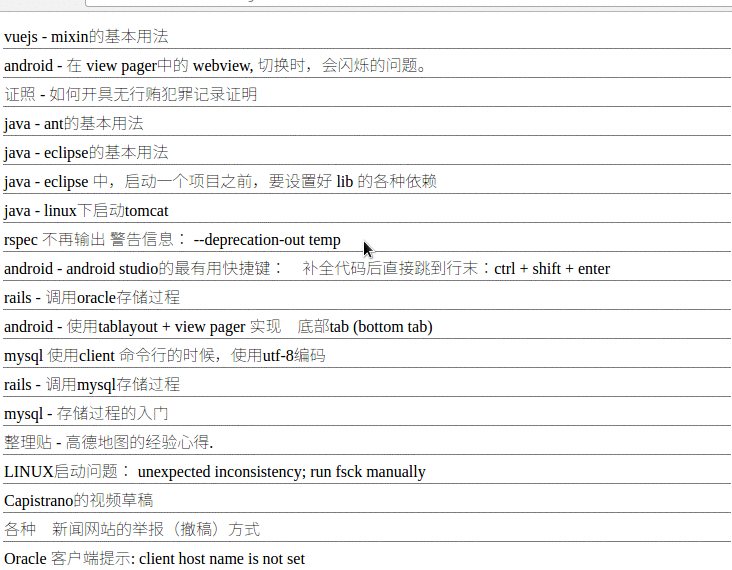
我们之前实现了 "博客列表页",接下来我们要实现:点击博客列表页中的某一行,就显示博客详情页.
1. 回顾:现有的接口
我已经做好了一个接口: 文章详情页。 地址为:
/interface/blogs/show
该接口接收一个参数: id. 使用 http GET请求来访问。
下面是该接口的一个完整形式:
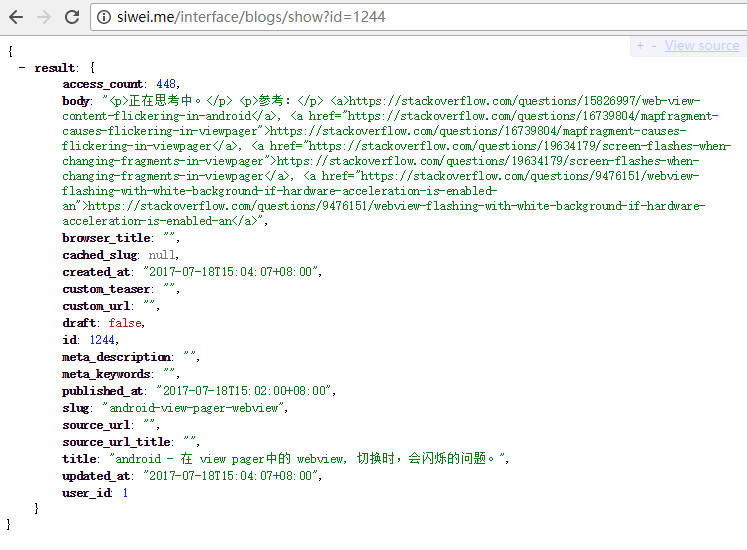
http://siwei.me/interface/blogs/show?id=1244
下面是返回结果:
{"result":{"body":"<p>这个问题很常见,解决办法就是禁止硬件加速...</p>","id":1244,"title":"android - 在 view pager中的 webview, 切换时,会闪烁的问题。"这个问题很常见,解决办法就是禁止硬件加速...</p>}}
在浏览器中看起来如下图所示:
2. 显示博客详情页
我们需要新增Vue页面: src/components/Blog.vue, 用于显示博客详情.
<template><div ><div><p> 标题: {{ blog.title }} </p><p> 发布于: {{blog.created_at }}</p><div>{{ blog.body }}</div></div></div></template><script>export default {data () {return {blog: {}}},mounted() {this.$http.get('api/interface/blogs/show?id='+this.$route.query.id).then((response) => {this.blog = response.body.result}, (response) => {console.error(response)});}}</script><style></style>
上面代码中:
data(){ blog: {}}用来初始化 blog这个页面用到的变量.{{blog.body}},{{blog.title}}等, 用来显示blog相关的信息.mounted...中,定义了发起http的请求.this.$route.query.id获取url 中的id参数. 例如:/my_url?id=333, 那么 ‘333’ 就是取到的结果. 具体的定义看下面的路由。
3. 新增路由
修改 : src/router/index.js文件. 添加如下代码:
import Blog from '@/components/Blog'export default new Router({routes: [// ...{path: '/blog',name: 'Blog',component: Blog}]} )
上面的代码,就是让Vuejs 可以对形如 http://localhost:8080/#/blog 的url进行处理。 对应的vue文件是 @/components/Blog.vue.
4. 修改博客列表页—跳转方式1: 使用事件
我们需要修改博客列表页, 增加跳转事件:
修改:src/components/BlogList.vue, 如下代码所示:
<template>...<tr v-for="blog in blogs"><td @click='show_blog(blog.id)'>{{blog.title }}</td></tr>...</template><script>export default {methods: {show_blog: function(blog_id) {this.$router.push({name: 'Blog', query: {id: blog_id}})}}}</script>
在上面代码中,
<td @click='show_blog(blog.id)'...</td>表示: 该<td>标签在被点击的时候,会触发一个事件:show_blog,并且以当前正在遍历的 blog对象的id 作为参数.methods: {}是比较核心的方法, vue页面中用到的事件,都要写在这里.show_blog: function...就是我们定义的方法.该方法可以通过@click="show_blog"来调用.this.$router.push({name: 'Blog', params: {id: blog_id}})中:this.$router是vue的内置对象. 表示路由.this.$router.push表示让vue跳转. 跳转到 name: Blog 对应的vue页面. 参数是 id: blog_id .
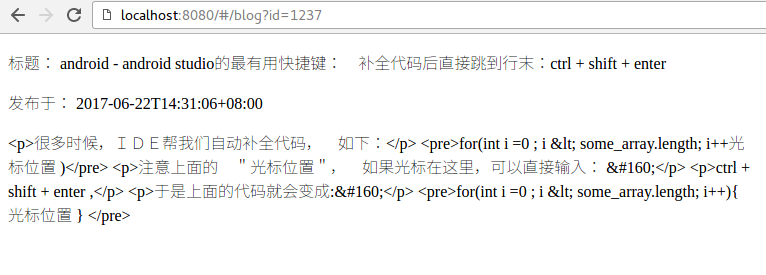
演示
(TODO 这里的GIF要换成静态图片)打开“博客列表页” ,就可以看到对应的所有文章。然后点击其中一个的标题,就可以打开对应的文章详情页了。
如下图GIF动画所示:
不经过HTML转义,直接打印结果.
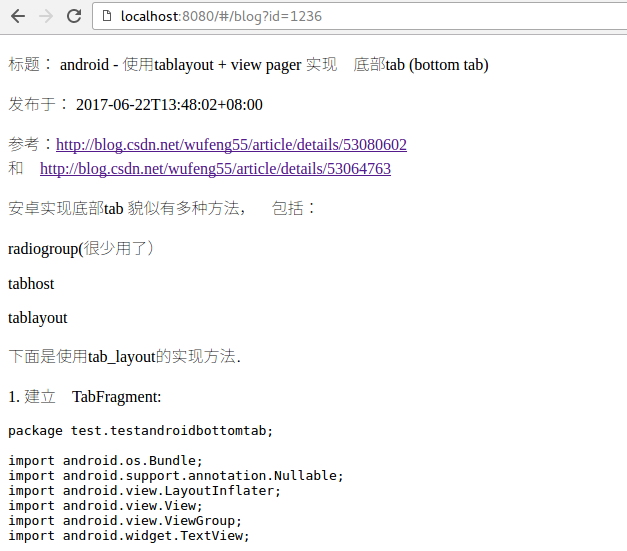
我们发现,HTML的源代码在页面显示的时候被转义了,如下:
所以,我们把它修改一下,不要转义:
<template>.....<div v-html='blog.body'></div>.....</template>
上面的 v-html 就表示不转义.
效果如下图:
修改博客列表页—跳转方式2: 使用v-link
<router-link> 比起 <a href="..."> 会好一些,理由如下:
无论是 HTML5 history 模式还是 hash 模式,它的表现行为一致,所以,当你要切换路由模式,或者在 IE9 降级使用 hash 模式,无须作任何变动。
在 HTML5 history 模式下,router-link 会拦截点击事件,让浏览器不再重新加载页面。
当你在 HTML5 history 模式下使用 base 选项之后,所有的 to 属性都不需要写(基路径)了。
<td><router-link :to="{name: 'Blog', query: {id: blog.id}}">{{blog.id}}</router-link></td>
然后,就可以看到,生成的HTML形如:
<a href="#/blog?id=1239" class="">1239</a>
点击之后,有同样的跳转功能.
感兴趣的同学,可以查看: https://router.vuejs.org/zh-cn/api/router-link.html
